Documentation
NB: If you have docker installed on your computer, the most convenient way to run OpenMOLE might be to run OpenMOLE in docker.
Download 22.0-SNAPSHOT - C... C...
The version 22.0-SNAPSHOT, named C... C..., has been released on February 20, 2026 After downloading OpenMOLE, you can launch it by executing the openmole file in the installation directory with the OpenMOLE supports Chrome and Firefox.
If you are using another web browser, you will need to copy paste the OpenMOLE URL (something like
To get help an installing OpenMOLE, get in touch with us through the OpenMOLE chat.
If you have questions or problems, don't hesitate to contact our great community through the forum or the chat!
You can run it using
In order to use the latter, follow these steps:
The following
Content:
Try the demo website 🔗
Before downloading OpenMOLE, you might want to get a preview of what you can do with it. You can try OpenMOLE online using our demo website. Please note that the service hosted on a slow machine and is reset every 6 hours, so don't be surprised if it is a bit slow or if your script suddenly vanishes :-)Install OpenMOLE 🔗
Prerequisites 🔗
- A Linux System: OpenMOLE runs on Linux, in order to run it on other systems please consider using the docker package
- Java >= 21: to run on your own computer, OpenMOLE requires Java version 21 or above. Check our FAQ to access your Java version information
- Node.js: to run on your own computer, OpenMOLE GUI requires Node.js
- Singularity: most of OpenMOLE tasks require the Singularity container system
NB: If you have docker installed on your computer, the most convenient way to run OpenMOLE might be to run OpenMOLE in docker.
Hosted Service 🔗
For users working in public institutions, we propose an hosted OpenMOLE service on which you can ask for an account.Download 🔗
When Java and Node.js are installed, you just need to download and extract the archive below, and you're done! OpenMOLE is installed and works out of the box!Download 22.0-SNAPSHOT - C... C...
The version 22.0-SNAPSHOT, named C... C..., has been released on February 20, 2026 After downloading OpenMOLE, you can launch it by executing the openmole file in the installation directory with the
./openmole command.
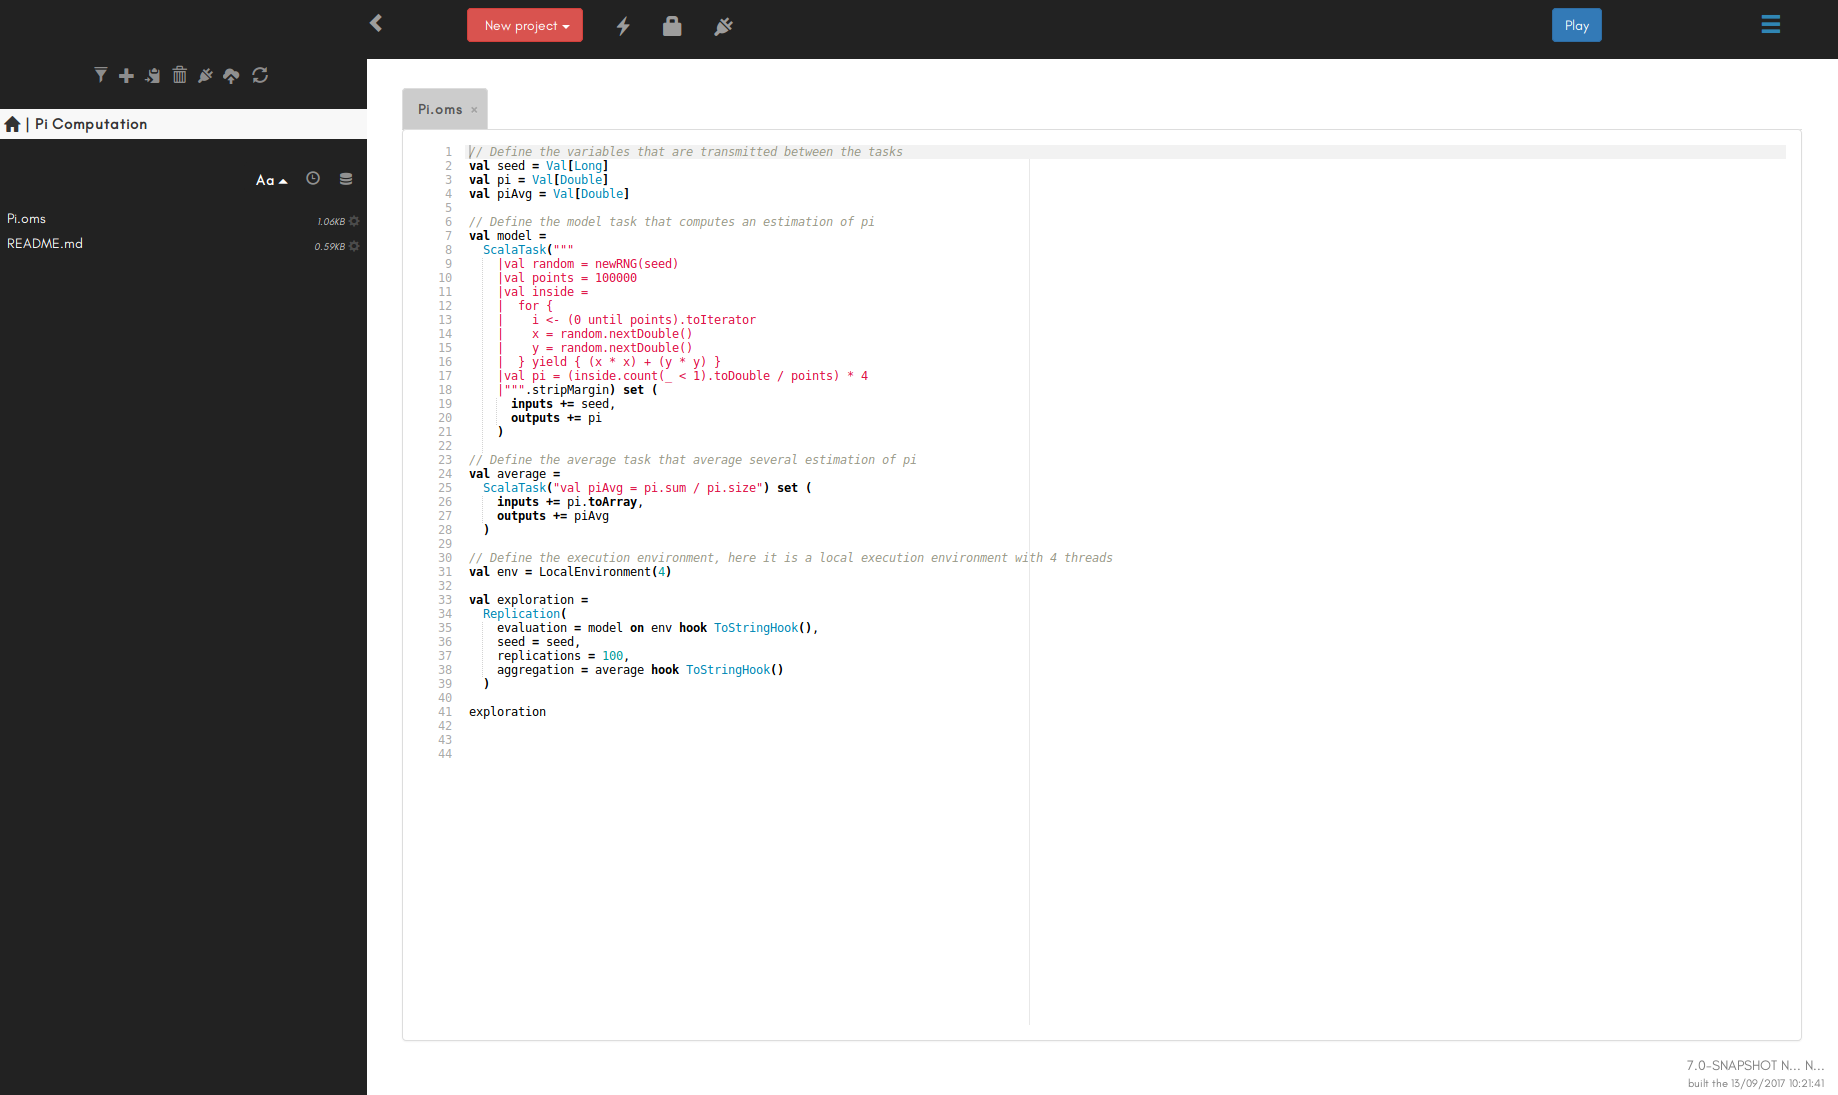
It will bring up you web browser and you should see something like this:
 OpenMOLE supports Chrome and Firefox.
If you are using another web browser, you will need to copy paste the OpenMOLE URL (something like
 http://localhost:[port] in either Chrome or Firefox.
To get help an installing OpenMOLE, get in touch with us through the OpenMOLE chat.
Experiment with OpenMOLE 🔗
To get started with OpenMOLE and see a few simple use cases, you can follow our Step by Step Introduction to OpenMOLE. Other Tutorials are also available, and you should find all the info you need in our Documentation section.If you have questions or problems, don't hesitate to contact our great community through the forum or the chat!
Alternative Install 🔗
Run in Docker 🔗
You can run OpenMOLE using a Docker container published on the Docker Hub. Running OpenMOLE using Docker images facilitates the execution of multiple instances of OpenMOLE on different ports, possibly with different versions. It also facilitates the automatic restart of OpenMOLE or its update for a newer version.You can run it using
docker or docker-compose.
In one line you can run:
#replace $USER_DIR with a directory value in which your data will be stored
docker run --privileged -p 8080:8080 -h openmole -v $USER_DIR:/var/openmole/ openmole/openmole:22.0-SNAPSHOTIn order to use the latter, follow these steps:
- install
docker-compose: follow the Docker documentation to install it on your system, - create a
docker-compose.ymlfile in a directory containing the information found on the Docker Hub, - edit the
docker-compose.ymlfile as explained below, - pull the Docker image by running
sudo docker-compose pull, - start the Docker image by running
sudo docker-compose up -d, - stop the Docker image by running
sudo docker-compose down, - monitor the Docker image by running
sudo docker-compose top,sudo docker-compose ps, orsudo docker-compose logs -t.
The following
docker-compose configuration runs the 22.0-SNAPSHOT OpenMOLE version.
It displays the OpenMOLE web user interface on port 55555, and mounts the local directory ./data/openmole as the directory for OpenMOLE settings and results.
It also restarts automatically on failure.
version: "3"
  services:
    openmole:
      image: openmole/openmole:22.0-SNAPSHOT
      hostname: openmole
      volumes:
        - ./data/openmole:/var/openmole/
      ports:
        - "55555:8080"
privileged: trueversion: "3"
services:
openmole:
image: openmole/openmole:22.0-SNAPSHOT
hostname: mymachinenetworkname.mydomain.org
command: openmole-docker --proxy http://myproxy.mydomain.org:3128
volumes:
- ./data/openmole:/var/openmole/
ports:
- "55555:8080"
privileged: true
restart: on-failure:100000